משתמשי אינטגרומט שרוצים לבצע אוטומציות בעזרת Gmail או Google Drive והם לא בעלי חשבון Gsuite או בשמו החדש Workspace בוודאי נתקלו במחסום בו הם היו צריכים לעקוב אחר הוראות החיבור הרשמיות של אינטגרומט. מכיוון שגוגל נוטים לשנות כל הזמן את הממשק שלהם, נוספו כמה שלבים ושינויים בתצוגה שעלולים לבלבל את מי שמנסה לעקוב אחר ההוראות.
להלן המדריך המעודכן לחיבור ג'ימייל וגוגל דרייב לאינטגרומט:
דבר ראשון עלינו לגשת ל Google Cloud Console. לאחר מכן נראה משהו כזה:
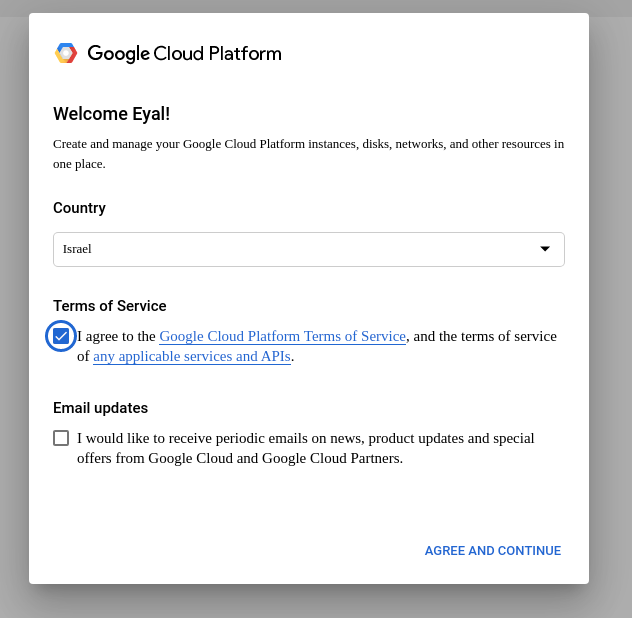
כמובן צריך לאשר את תנאי השימוש ואז אנו נלחץ על Agree and continue.
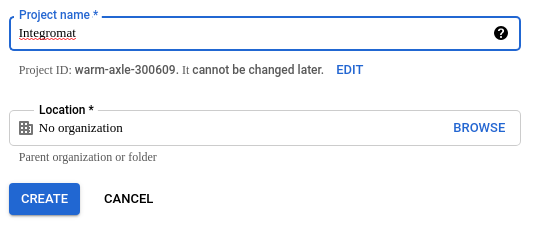
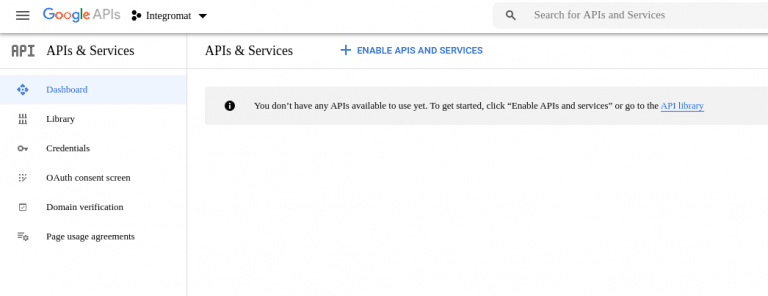
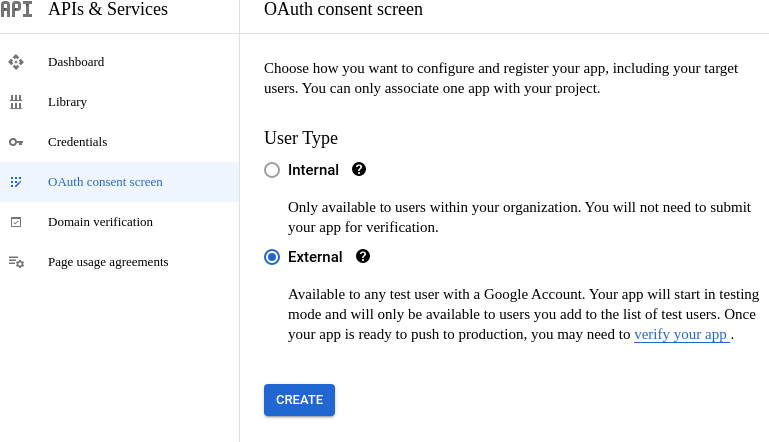
עכשיו עלינו ליצור פרוייקט, לחצו על הכפתור שנמצא בצד ימין ואז תראו את המסך הזה:
לאחר שיצרנו פרוייקט אנחנו נראה את המסך הזה:
לוחצים על Enable API's and services, במסך הבא תזינו בשדה החיפוש gmail וביחרו כמובן ב gmail.
לחצו על Enable, תמתינו לטעינה של כמה שניות ולאחר שהטעינה תסתיים אתם תראו מסך כזה:
לחצו על תפריט ההמבורגר משמאל וביחרו ב API's and Services ואז Dashboard:
כל זה מוביל אותנו למסך הבא:
בשלב זה יש להקליק על OAuth consent screen שיוביל אותנו למסך הזה:
יש לבחור ב – External וללחוץ על Create.
בשלב הבא יש להזין את שם האפליקציה, אני קראתי לה Integromat ובנוסף יש להגדיר support email שהוא בעצם כתובת המייל איתה אתם מחוברים ל – Google cloud console.
בנוסף יש להגדיר authorized domain שהוא integromat.com ו Developer contact information שהוא אותו אימייל שהגדרתם למעלה בחלק הקודם.
יש ללחוץ על Save and Continue ולאחר מכן אנו נמצאים בשלב של ה – Scopes. יש להקליק על Add or Remove Scopes ויצוץ לכם חלון מימין שבו יש לחפש בחלון העליון Gmail ומשם לבחור ב 8 דברים:
- https://mail.google.com/
- https://www.googleapis.com/auth/gmail.labels
- https://www.googleapis.com/auth/gmail.send
- https://www.googleapis.com/auth/gmail.readonly
- https://www.googleapis.com/auth/gmail.compose
- https://www.googleapis.com/auth/gmail.insert
- https://www.googleapis.com/auth/gmail.modify
- https://www.googleapis.com/auth/gmail.metadata
מקליקים על Update מלמטה ולאחר מכן גוללים עד למטה ומקליקים על Save and Continue
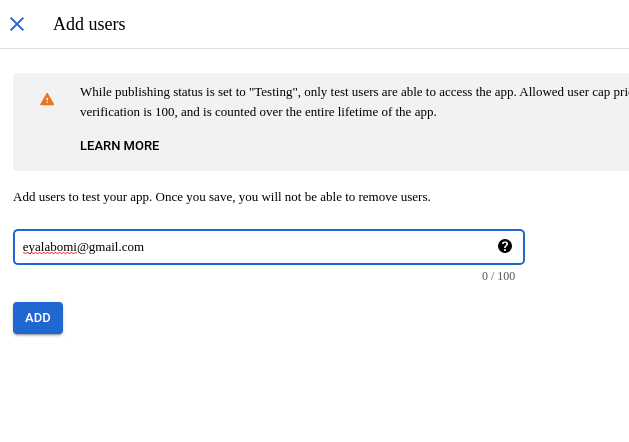
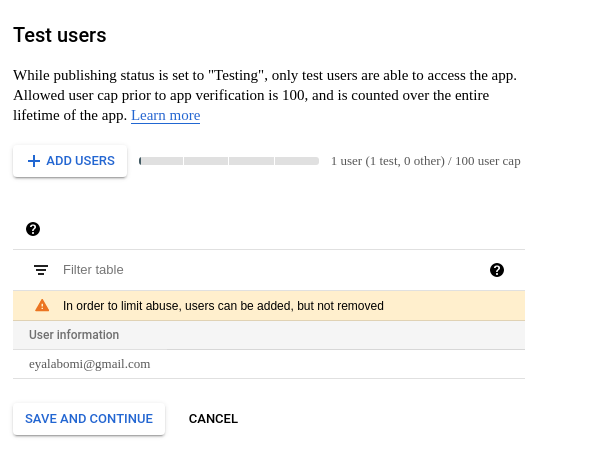
עכשיו לשלב שלא קיים בתיעוד של אינטגרומט, יש להוסיף Test User שהוא שוב על אותה כתובת מייל שהזנו בשלב הראשון ואותה כתובת\חשבון גוגל איתה אתם מחוברים ברגע זה.
הקליקו על וייפתח לכם חלון מימין, הזינו את המייל שלכם הקליקו על Add.
הגדרתם Test user בהצלחה
הקליקו על Save and continue וסיימנו עם השלב של ה OAuth consent screen.
עכשיו יש להקליק על Credentials בתפריט משמאל, שיוביל אותנו לדף זה:
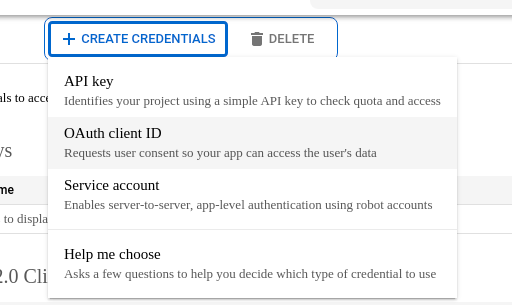
הקליקו על הכפתור ובחרו ב – OAuth client ID
יש לבחור Web Application ולאחר מכן לתת לה שם (זה יכול להיות מה שבא לכם, אני פשוט קראתי לה Integromat).
לבסוף יש להגדיר Authorized redirect URI. מקליקים על (התחתון מבין 2 האופציות) ומעתיקים ומדביקים את הכתובת הזו https://www.integromat.com/oauth/cb/google-restricted ומקליקים על Create.
בסופו של דבר יצוץ לכם חלון כזה:
מי שחשב להתחכם לקחת את המפתחות מהתמונה, הם כבר לא עובדים.
עכשיו ניתן לחבר את ג'ימייל לאינטגרומט, בואו נפתח סנריו חדש ונבחר במודול כלשהו של ג'ימייל. באזור ה Connection יש ללחוץ על Add.
בחלון שנפתח יש לתת לחיבור שם וללחוץ על Show Advanced Settings
מזינים את ה – client ID ואתה ה – Client secret ולוחצים על Continue.
יקפוץ לכם חלון של אישור גישה לגוגל, תבחרו בחשבון איתו ביצעתם את כל התהליך ולאחר מכן תקבלו מסך אדום מבהיל אך אין על מה להבהל, פשוט תקליקו על Advanced או מתקדם אם אתם בעברית ולאחר מכן על go to Integromat u ותאשרו לו גישה.
בסופו של תהליך מוצלח הוא יסגור את החלון ואינטגרומט יופיע כאשר הוא מחובר
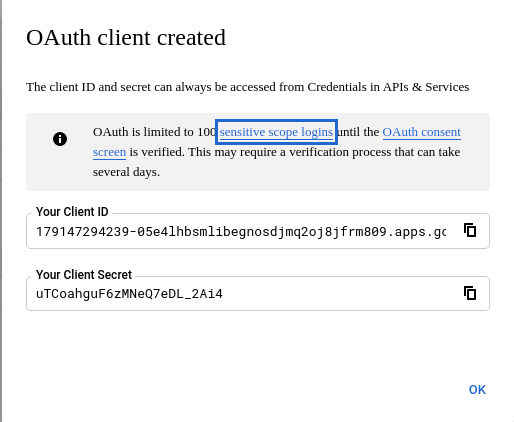
זהו, סיימתם את החיבור של Gmail לאינטגרומט.
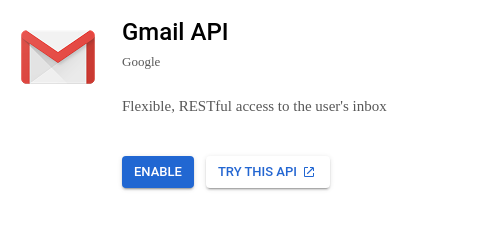
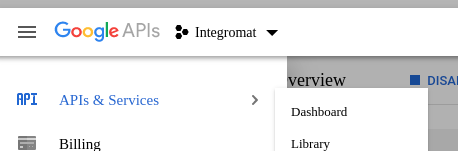
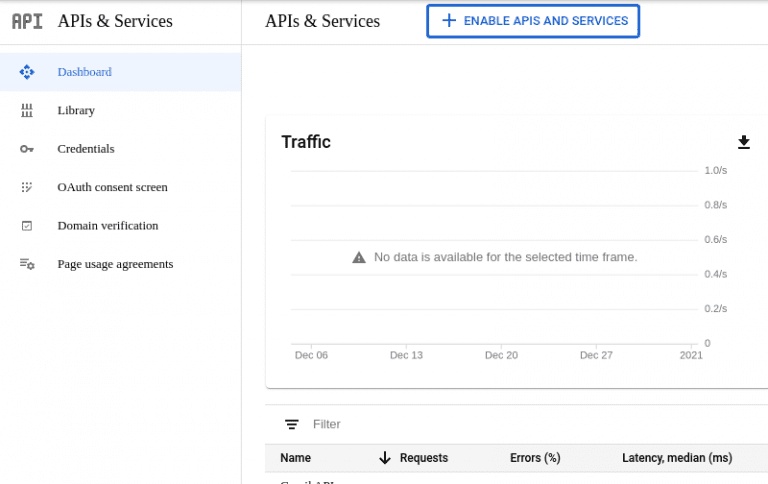
אם אתם רוצים גם לחבר את Google Drive כל מה שצריך לעשות זה להקליק על Dashboard ואז על שנמצא למעלה, לחפש את Google drive ולעשות לו Enable כמו שעשינו ל – Gmail בהתחלה. לאחר מכן יש לשוב ל – OAuth Consent Screen ולאחר לבחור ב – Edit App ולגלול עד למטה והקליק על Save and Continue עד שאנו מגיעים לאזור ה – Scopes וכאן יש להוסיף את 2 הסקופים הבאים:
- https://www.googleapis.com/auth/drive
- https://www.googleapis.com/auth/drive.readonly